
From the moment I read about the idea, I knew I wanted to implement it in our home. It was genius and I was all in! We have had these in our home for about five and a half years and I love them the same as I did day one. This post may contain affiliate links which won’t change your price but will share some commission. In The Read Aloud Handbook, Jim Trelease talks about how seeing the book cover increases the likelihood that people will read the book.
It makes sense. At a book store, they make sure you can see the cover of any book they are trying to sell. The library typically uses the same tactic; if they want to encourage you to read a book, the cover will be facing you.
Of course this method takes up a lot more space than stacking them on a bookcase. Never-the-less, I wanted a version in my home! I set out to find the perfect wall, and I found it! Chances are good you have a place in your home that work also. Space behind a door. Space on the wall of a hall. Any wall that can’t have furniture up against it.
If you are looking for gift ideas, either for your children or for yourself, this could be just what you were looking for.
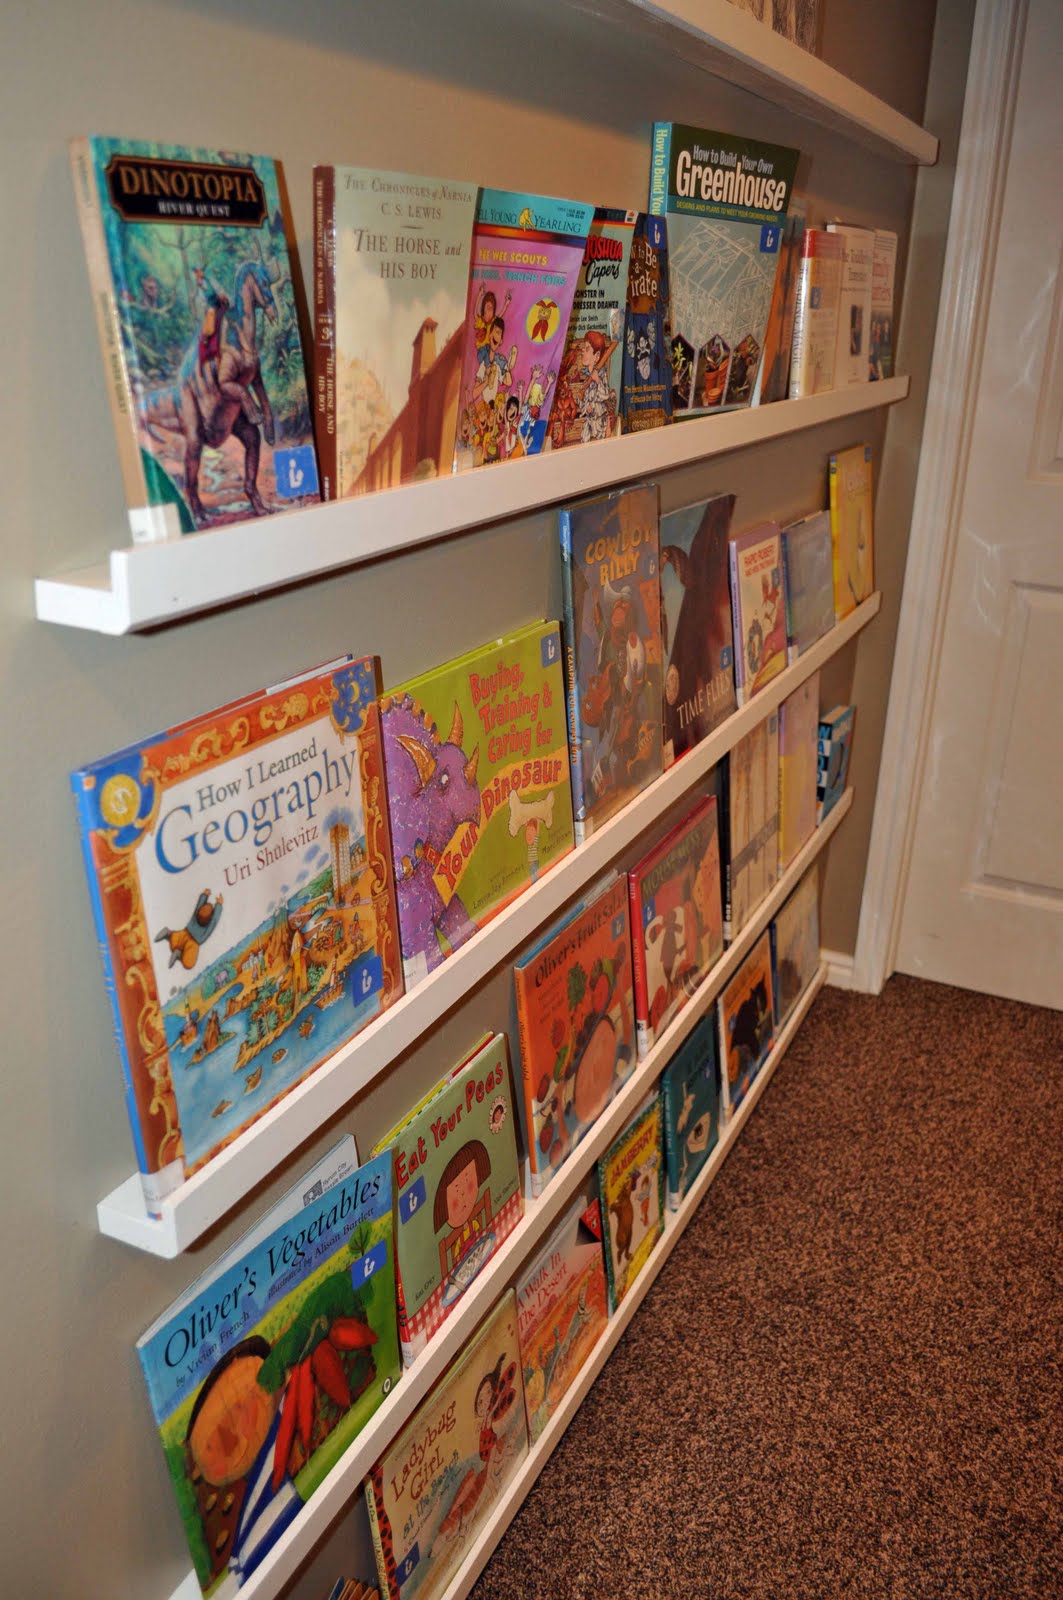
You can create this in many ways. You can do raingutters. You can do spice racks. You can use Picture Ledges shelves from IKEA. My husband made ours. You can see we don’t have a huge profile for these shelves to stick out from the wall before they are in the way of the door right there, so it had to be pretty flat. These would work great in any hall on any wall. We have also put these on the wall above the bed in Brayden’s room.
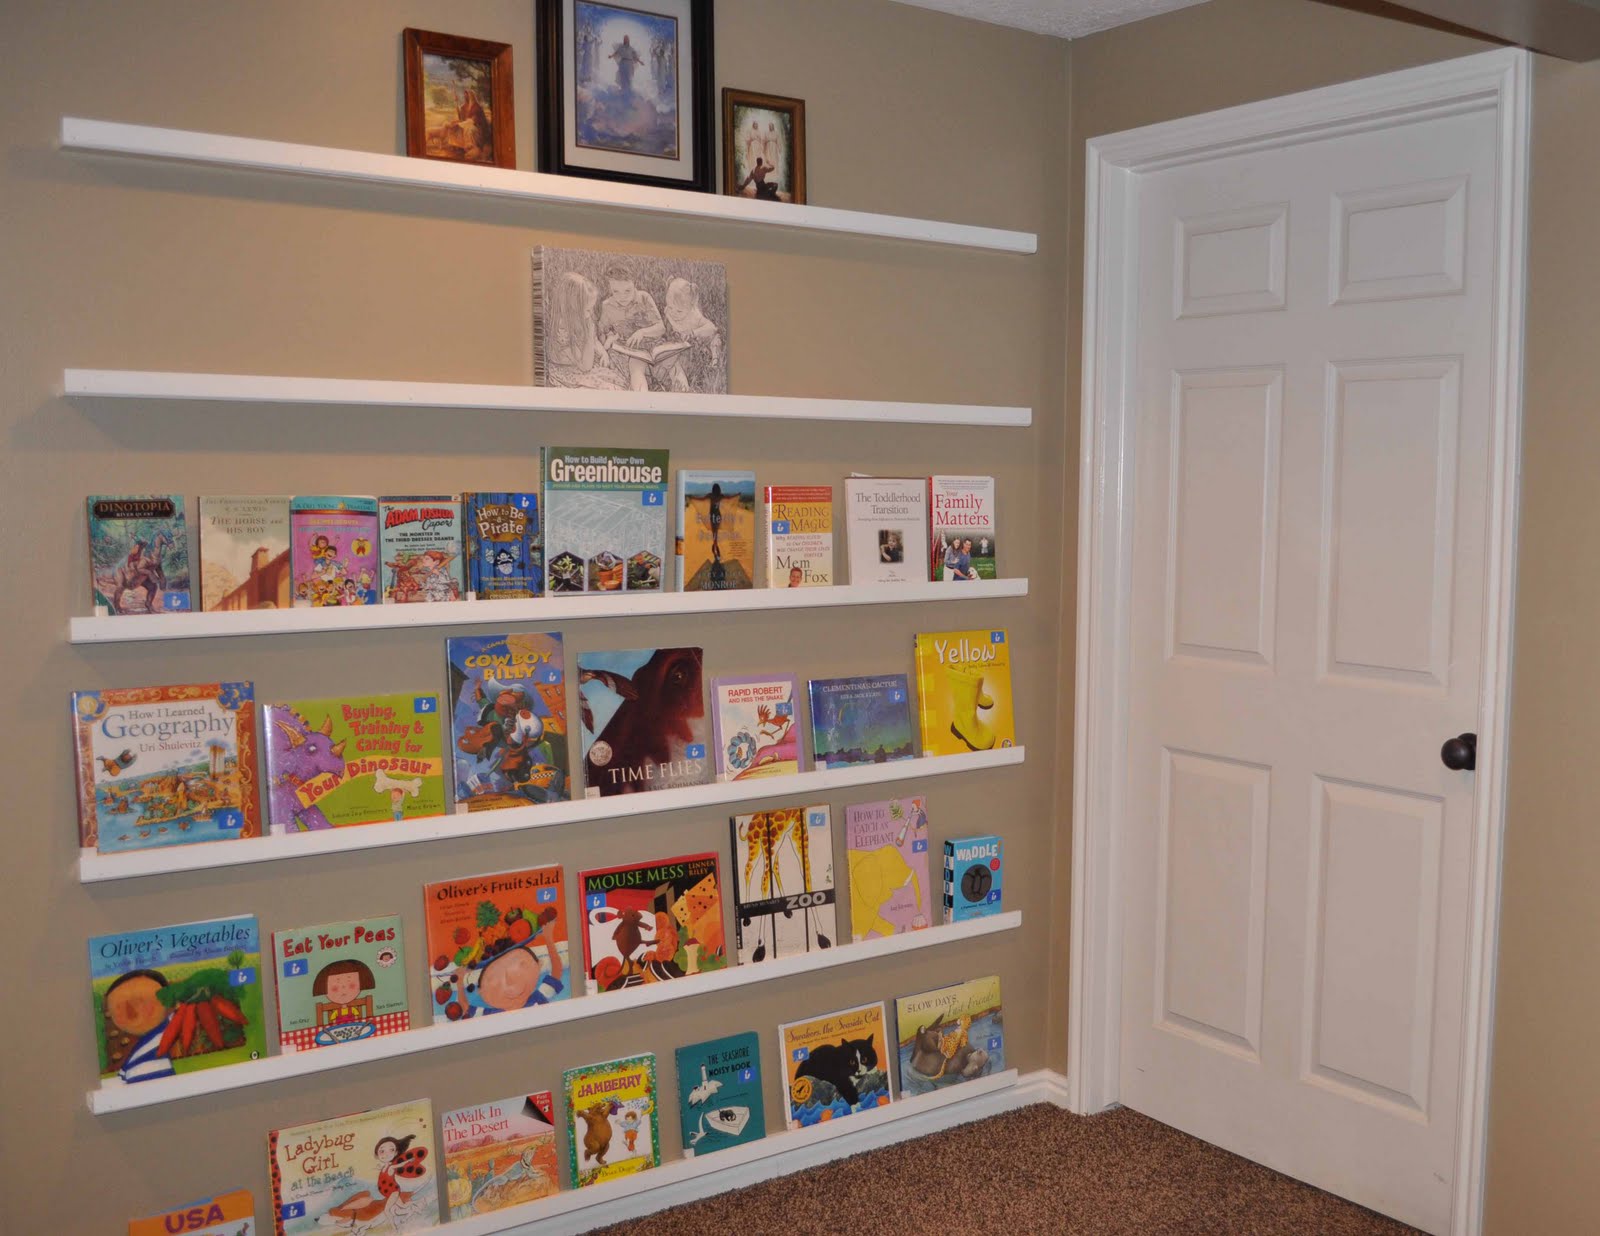
Here is our tutorial on how to do a face-out bookshelf. This is the way my husband designed so you couldn’t see a back on the shelves–it looks like they are free-floating. Hopefully I can translate from Engineer-ese to English. Below this tutorial, I will show you some other ideas.
Materials Needed:
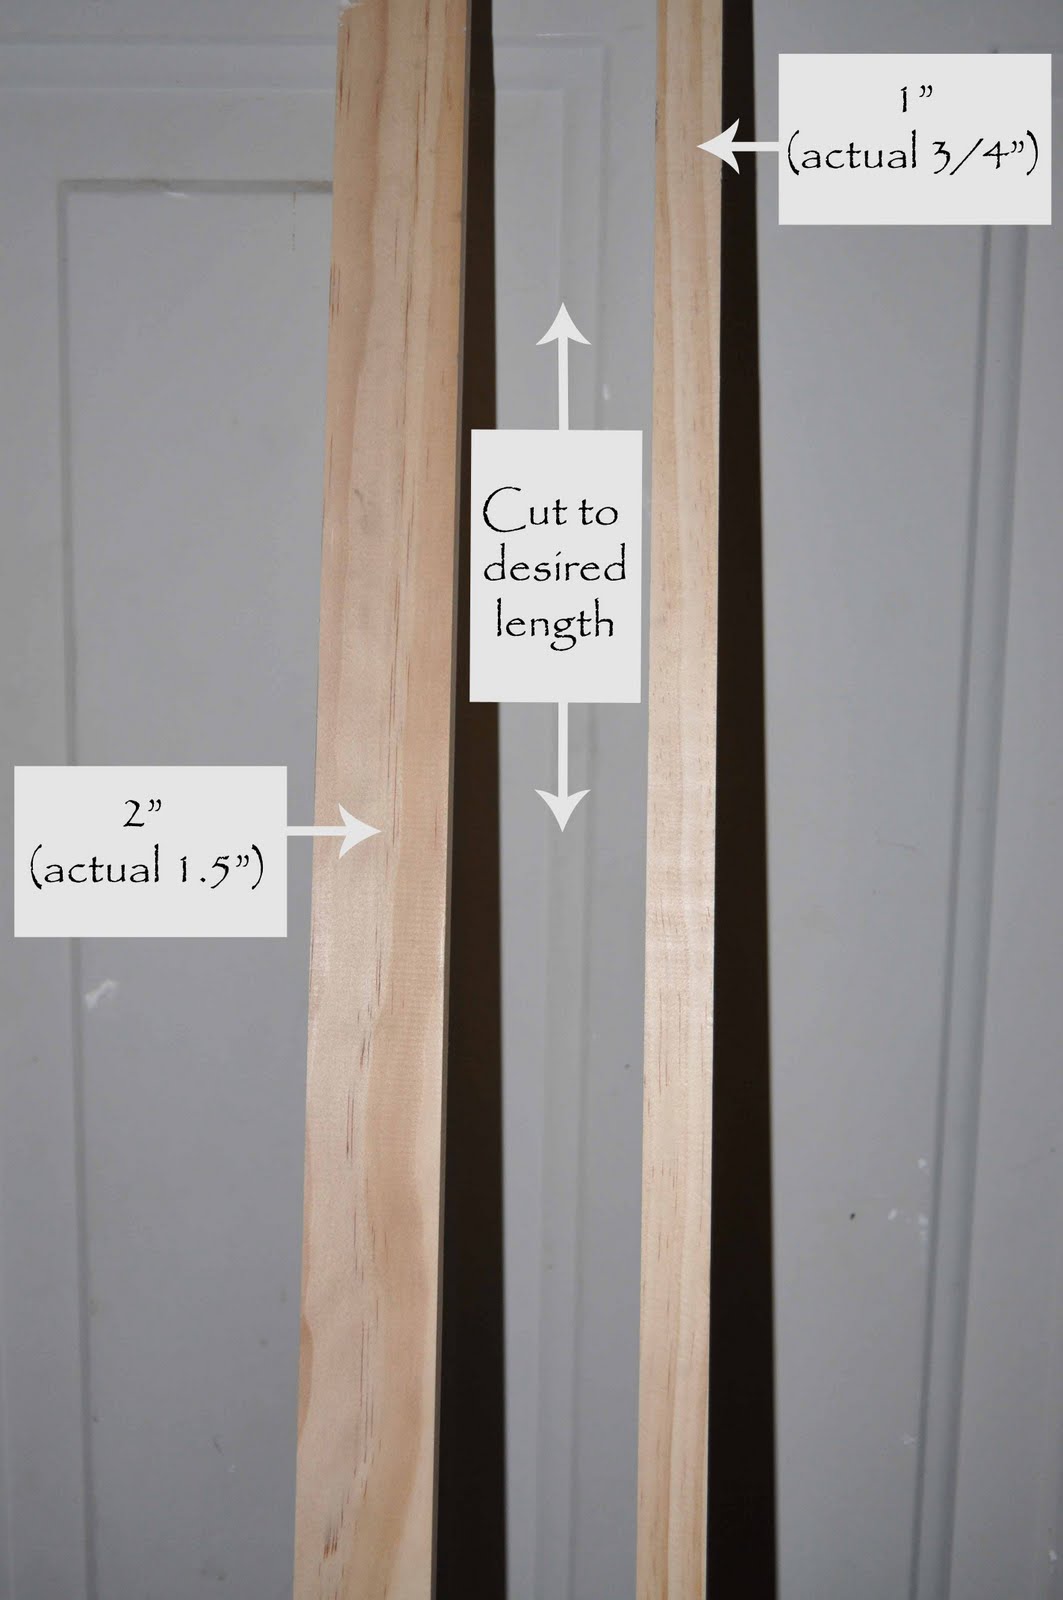
- 3/4″x1.5″ pieces of wood cut to the length you want them on the wall. This is the actual size of the wood. They will be called 1″x2″ in the store. You will need two pieces of wood for each shelf. Buy as many as you need to fill the space on your wall.
- 3″ Grabber screws
- Glue if desired (we used wood glue)
- Paint and paint brush (we use foam brushes for projects like this)
- Finish nail gun nails
- Wood putty
Tools Needed:
- Drill
- Router and/or Table Saw
- Measuring Tape
- Pencil
- Finish Nail Gun
Prepping Wood
1.First, buy your wood. If you are confused on what to buy, see the picture below. Click on it to enlarge. The wood shown in this picture would make one shelf. Cut wood to desired length.
2. Next, you need to router and notch one piece of wood for each shelf.
Use a router or a dado on a table saw to notch one corner (all the way down the long side) as shown. Again, click on the picture to enlarge.
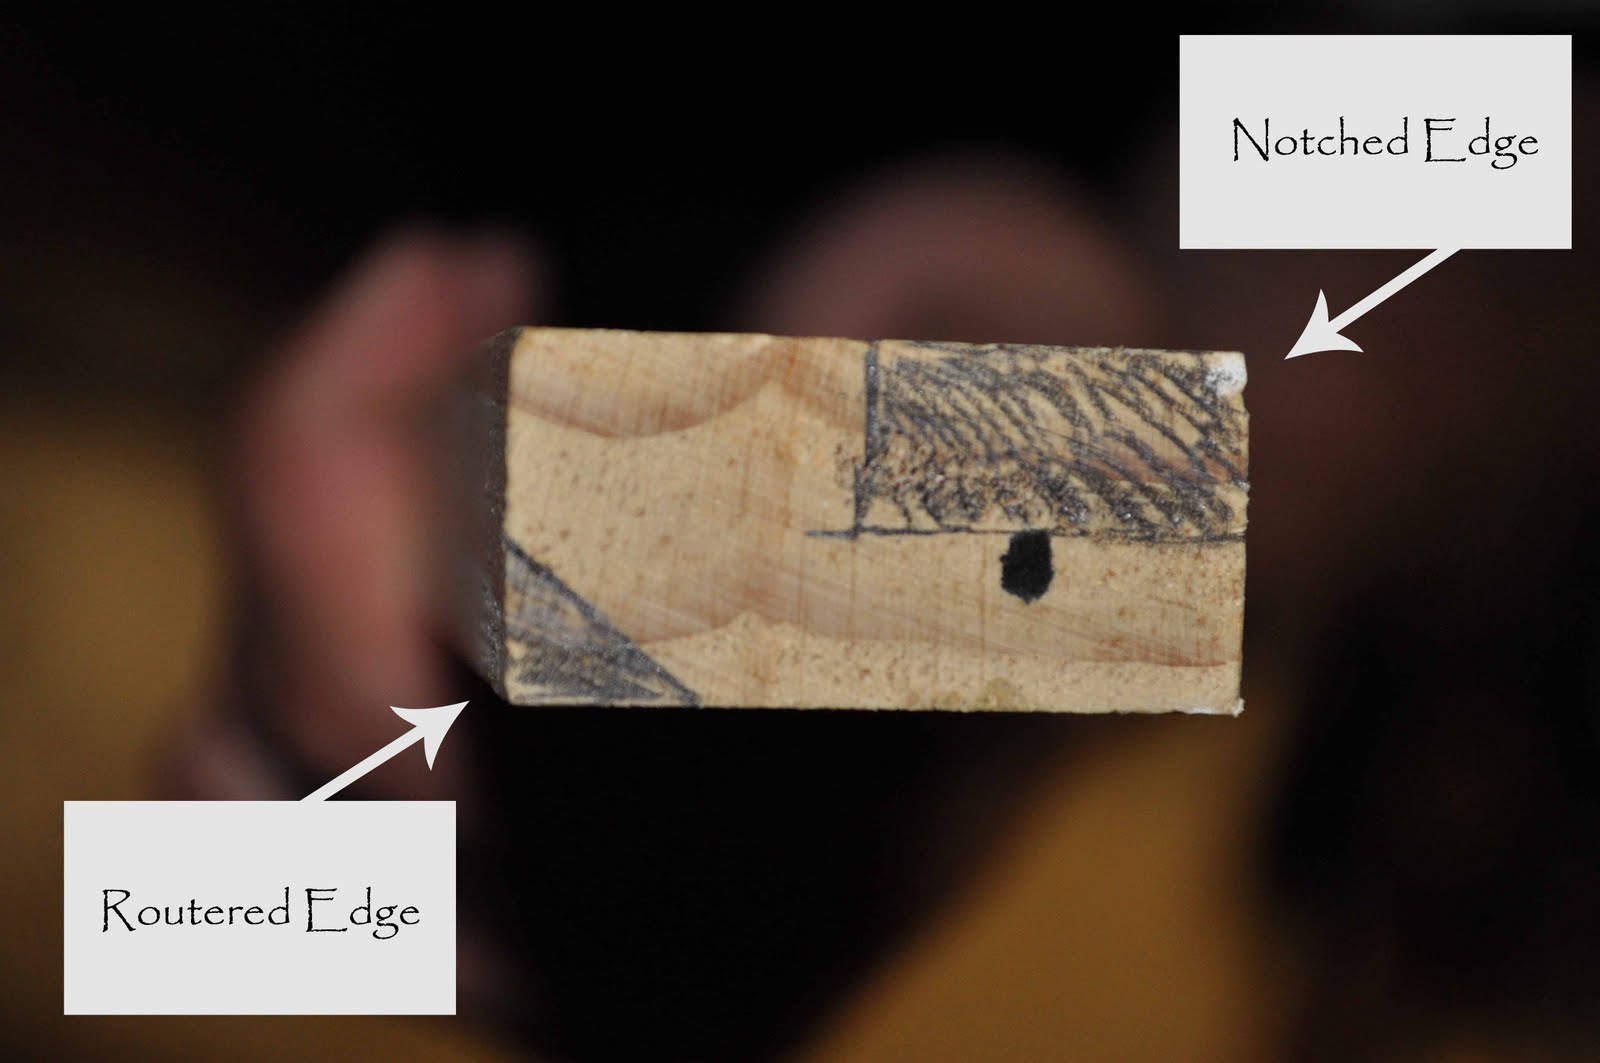
Use a router the opposite corner if desired. You can do it however you like things done. We used a 45 degree chamfer. You could do things more fancy if you like, or you can do nothing at all.
3. Brush all sawdust off and paint. Allow paint to fully dry. You don’t have to paint the 1″ (3/4″) sides of the un-notched wood.
Putting Up the Shelves
1. Measure and mark on your wall where you want the shelves. You might want to involve a level.
2. Pre-drill holes in your wall where studs are. It is very important you drill into studs.
3. You can glue one side of the shelf if desired and hold to the wall. We can’t remember if we used it at this step or not.
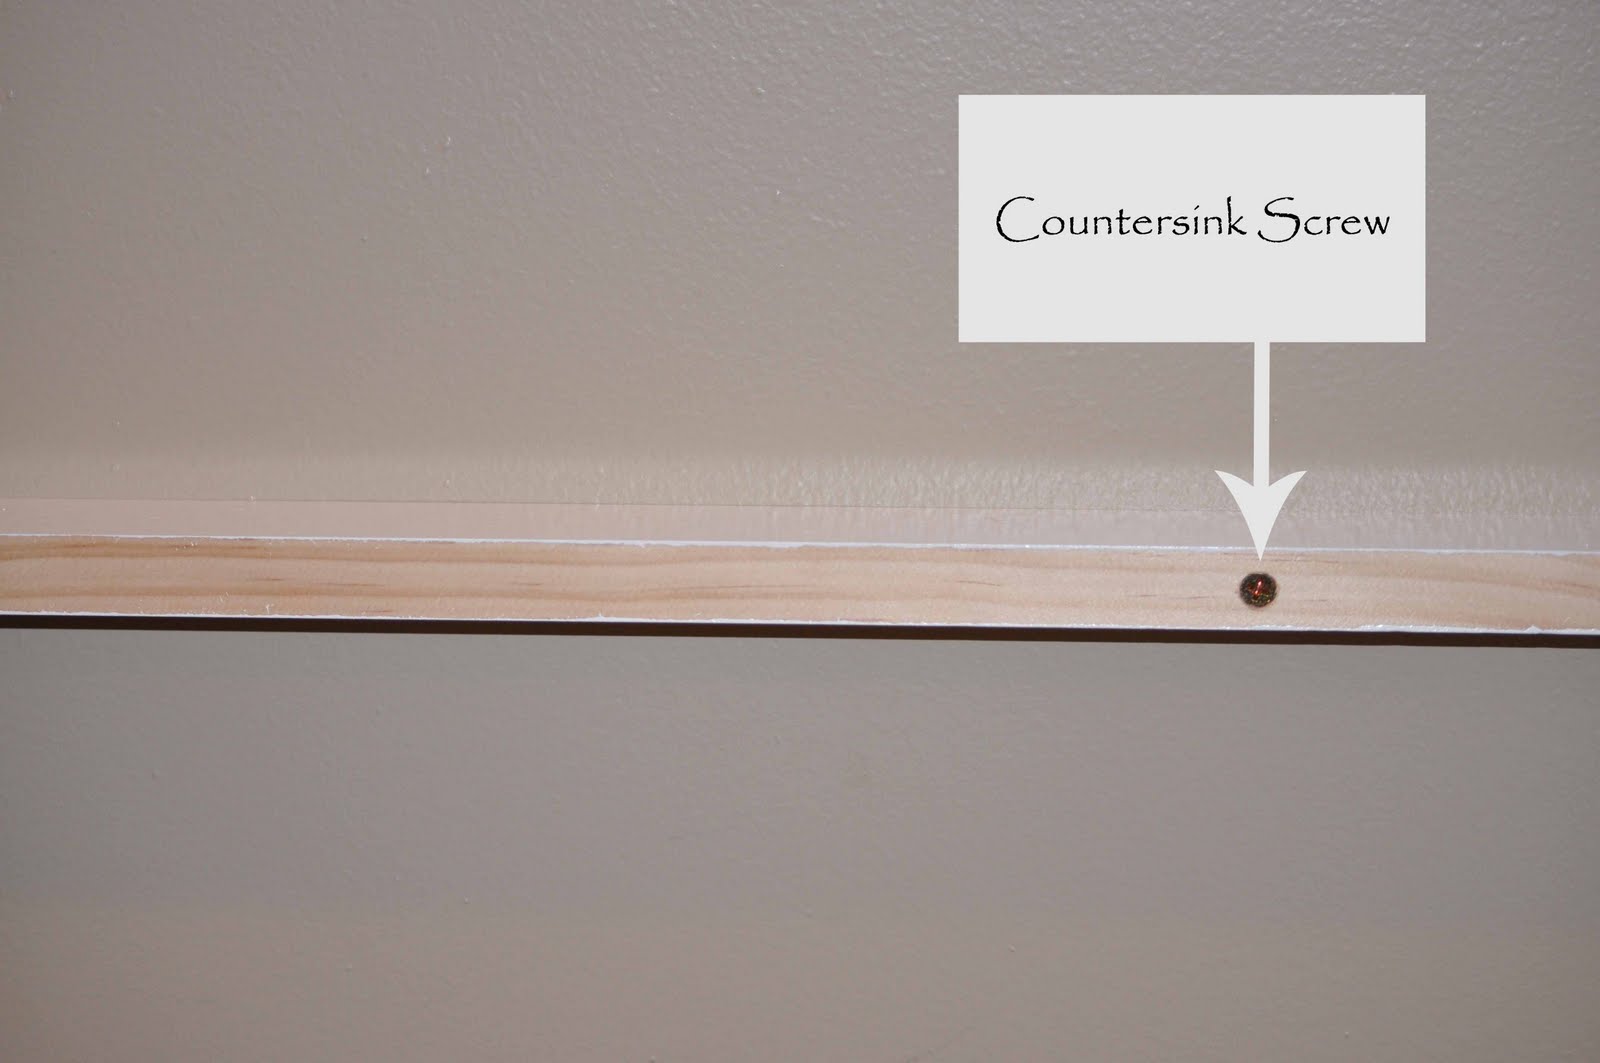
4. Use 3″ grabber screws to anchor to the studs. You want the 1″ (3/4″) side facing out so the long side of the wood is where your book will sit. Countersink screws so that they to just below the surface of the wood. Just make sure you don’t go too far and split your wood.
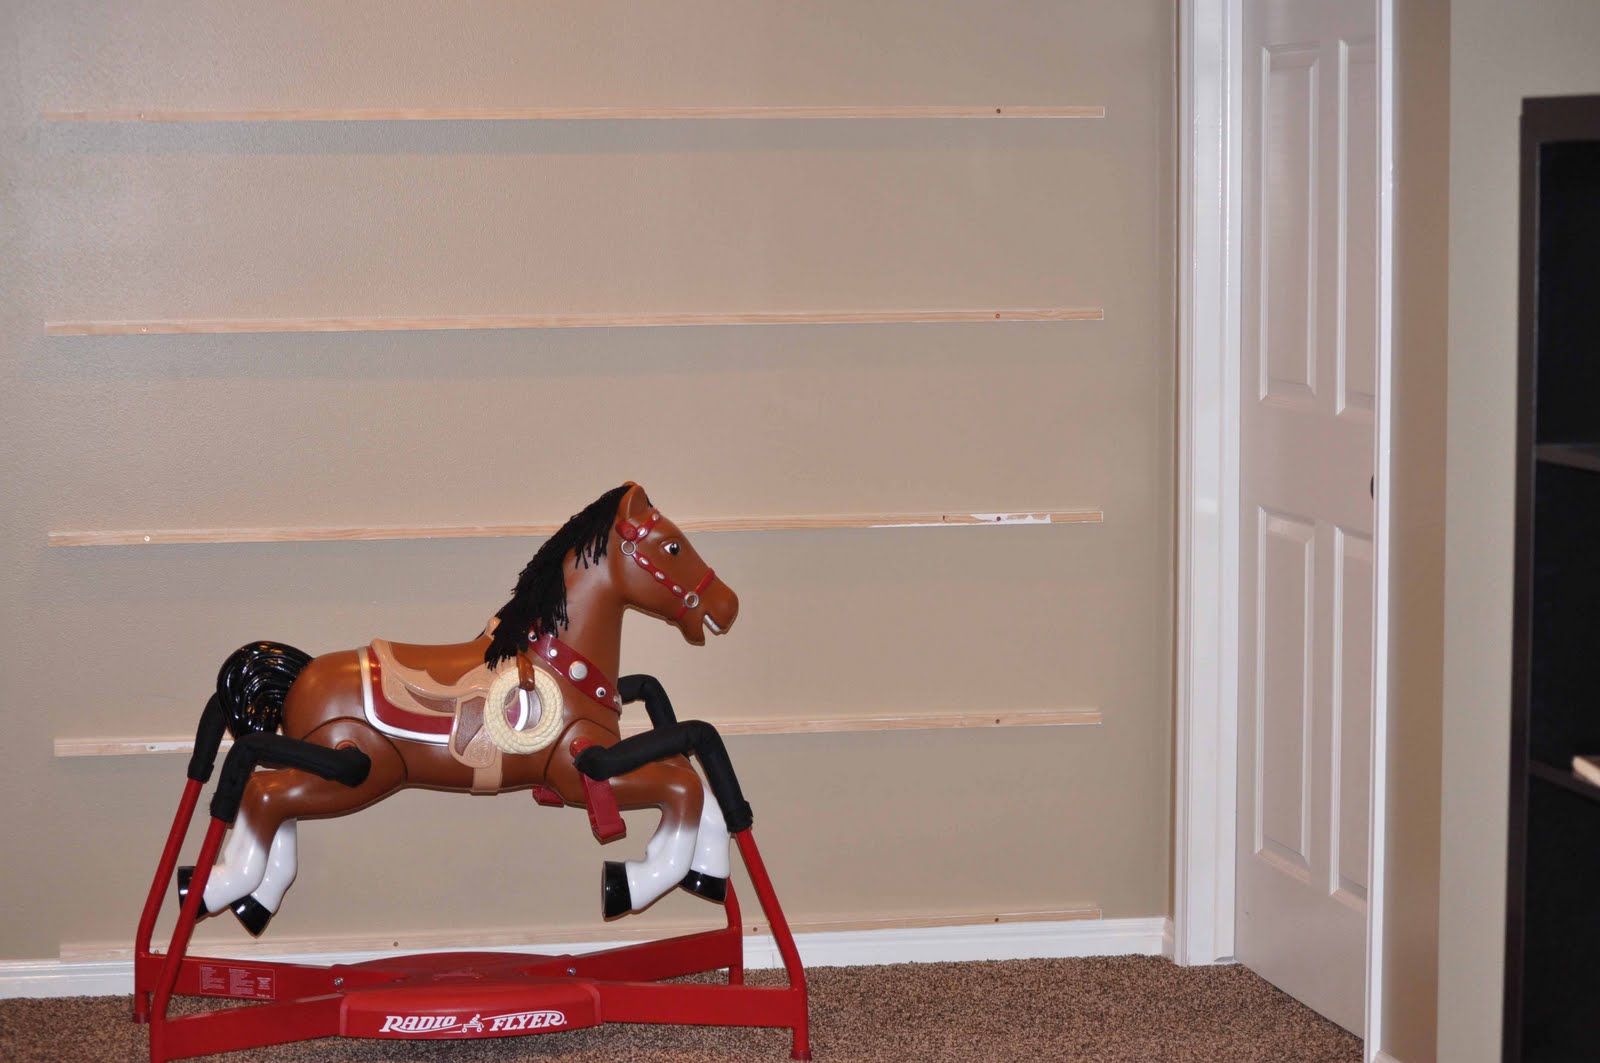
Here are all of our initial pieces on the wall
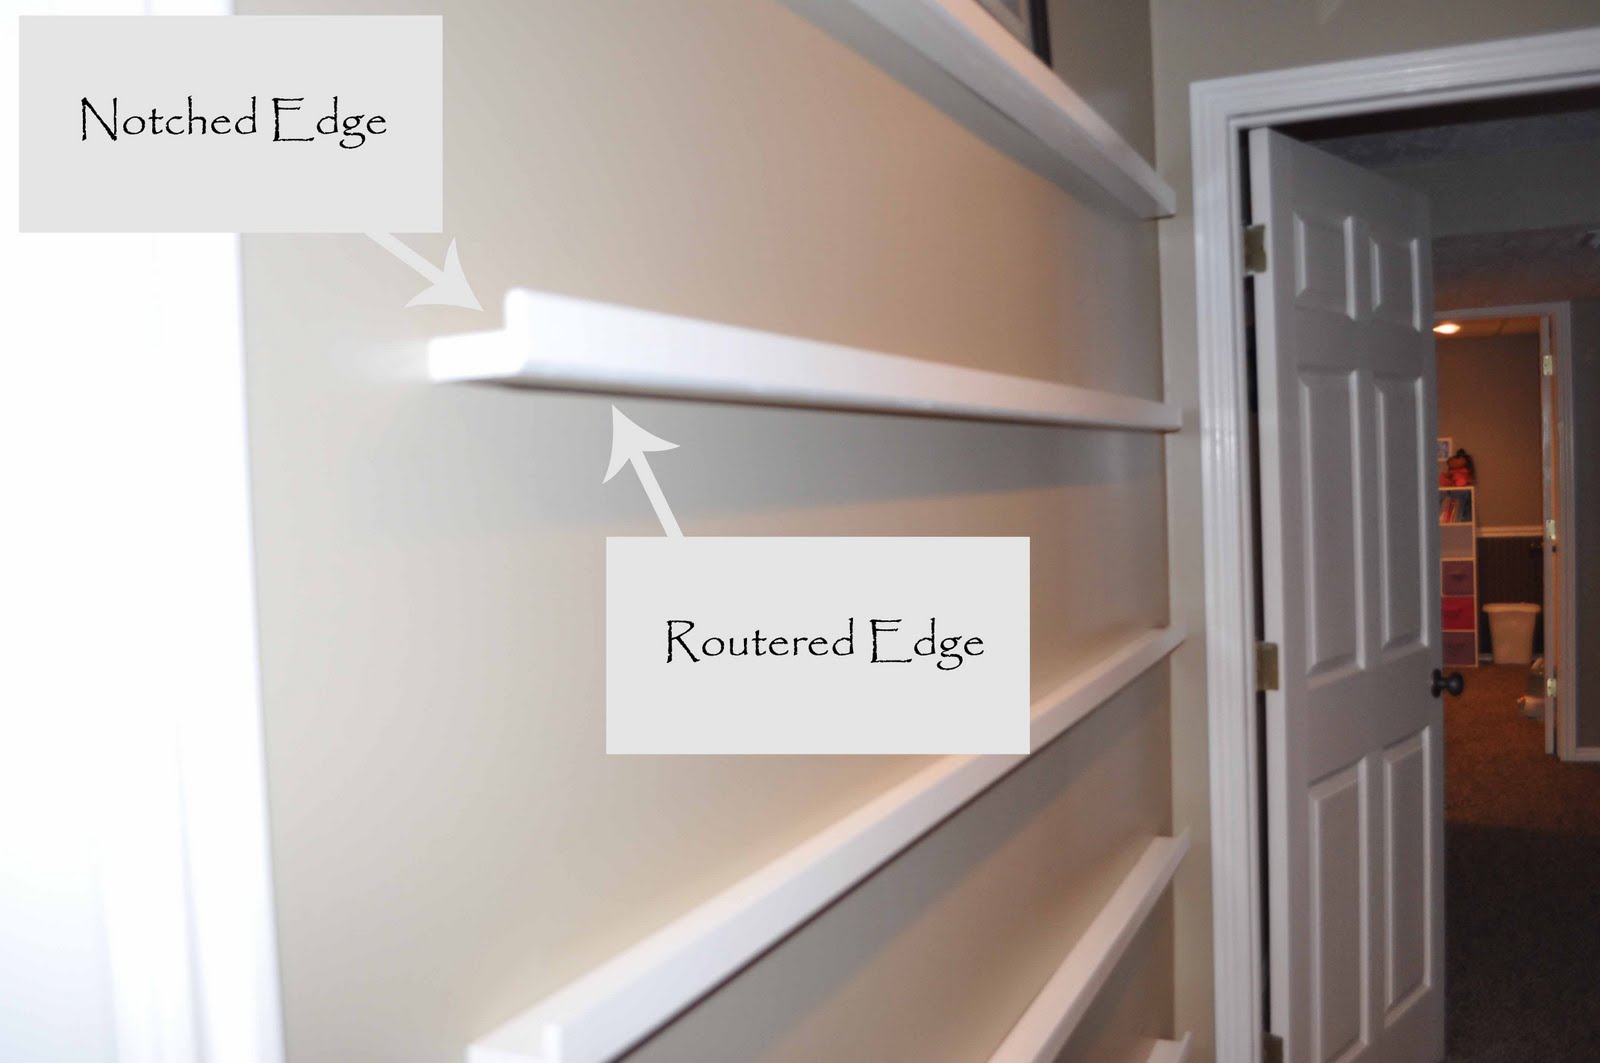
5. Uses a finish nail gun to put up the face piece. At this step, we did use glue to secure the two wood pieces together. You want the notched side in and up and the routered side out and down. See the picture below. The notching makes it so the shelf is a bit deeper while providing a lip to keep books on the shelf.
Finishing Touches
1. Use wood putty to fill in holes where finish nail gun put nails in. You want this to just go in the holes and not bump out beyond the hole.
2. Paint over wood putty once it is dry.
3. Put books up!
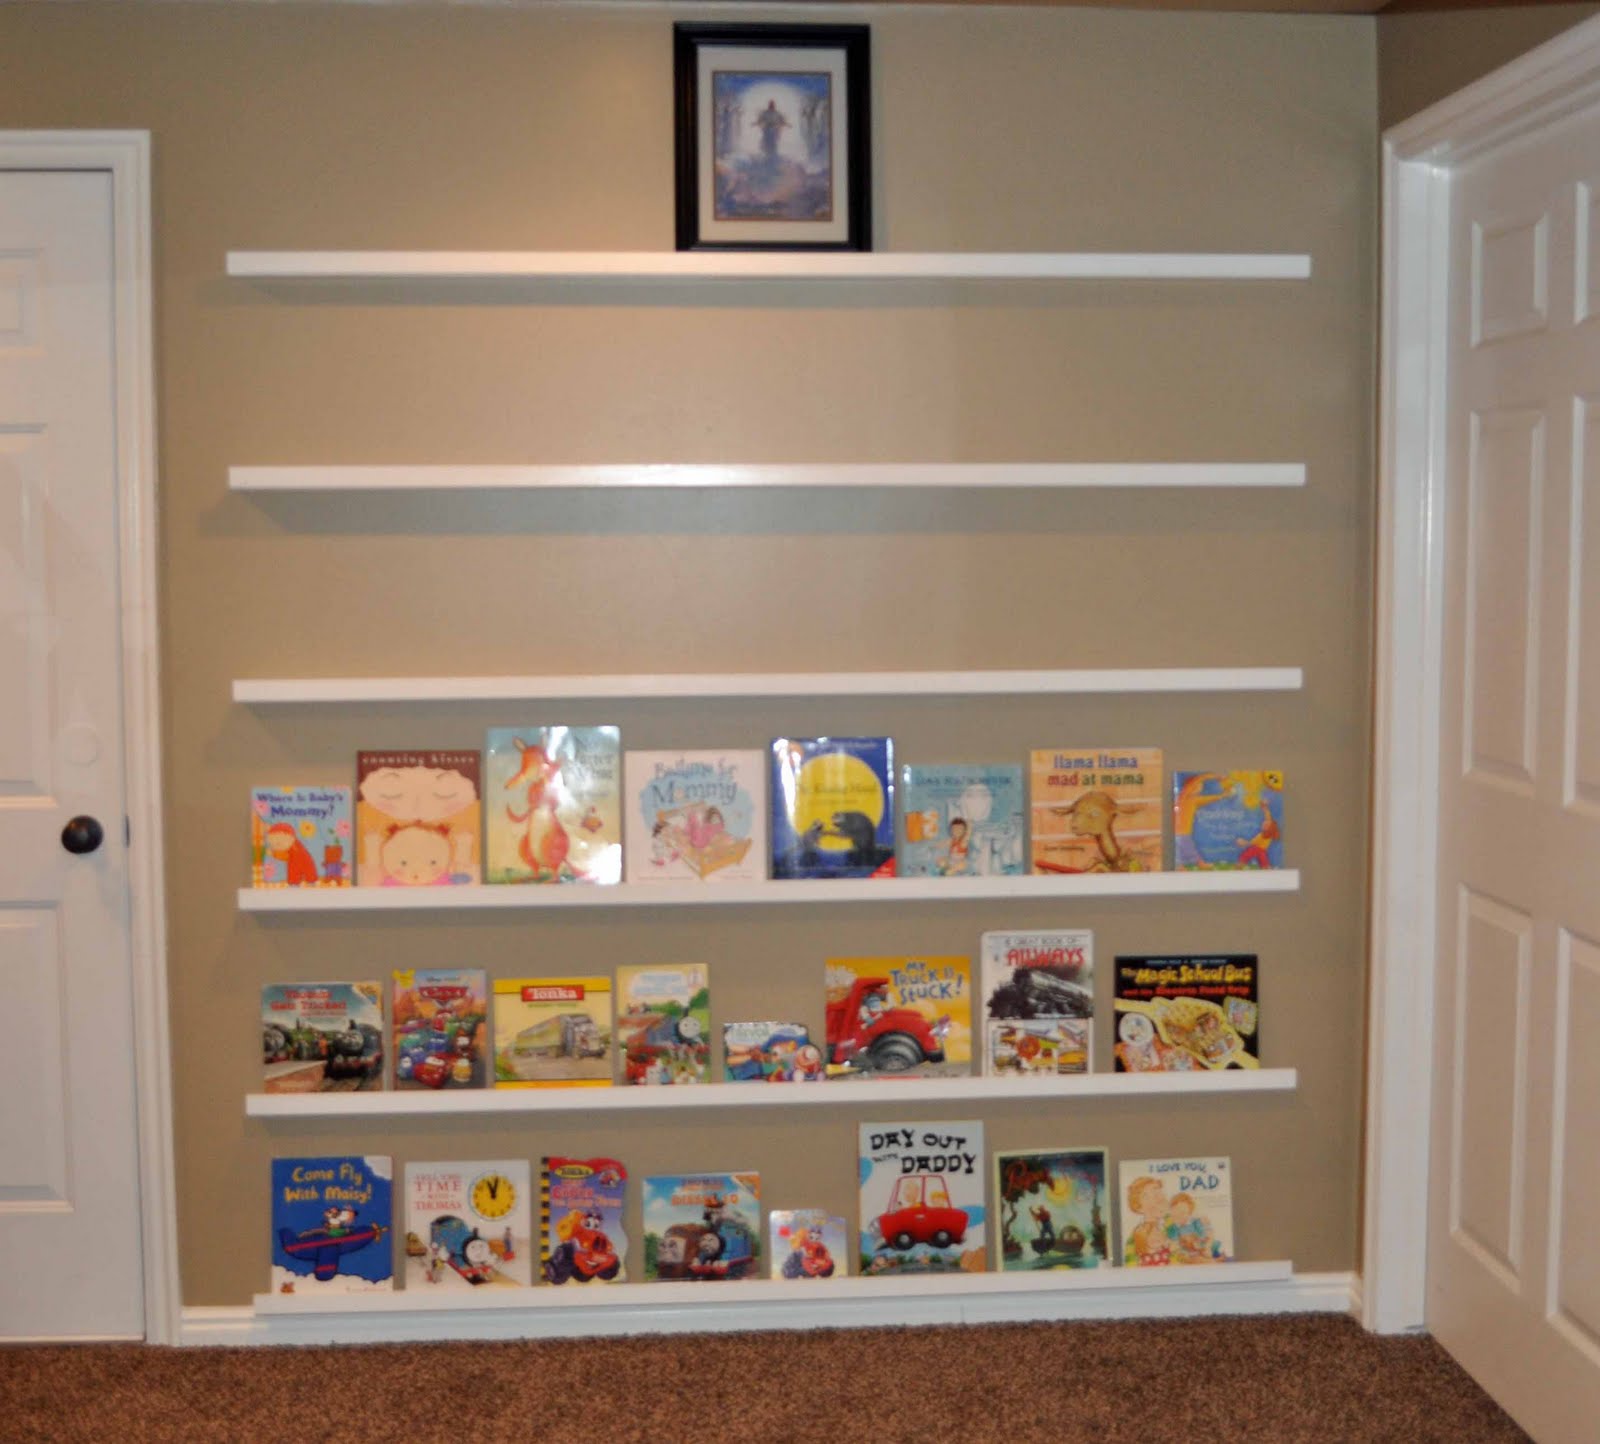
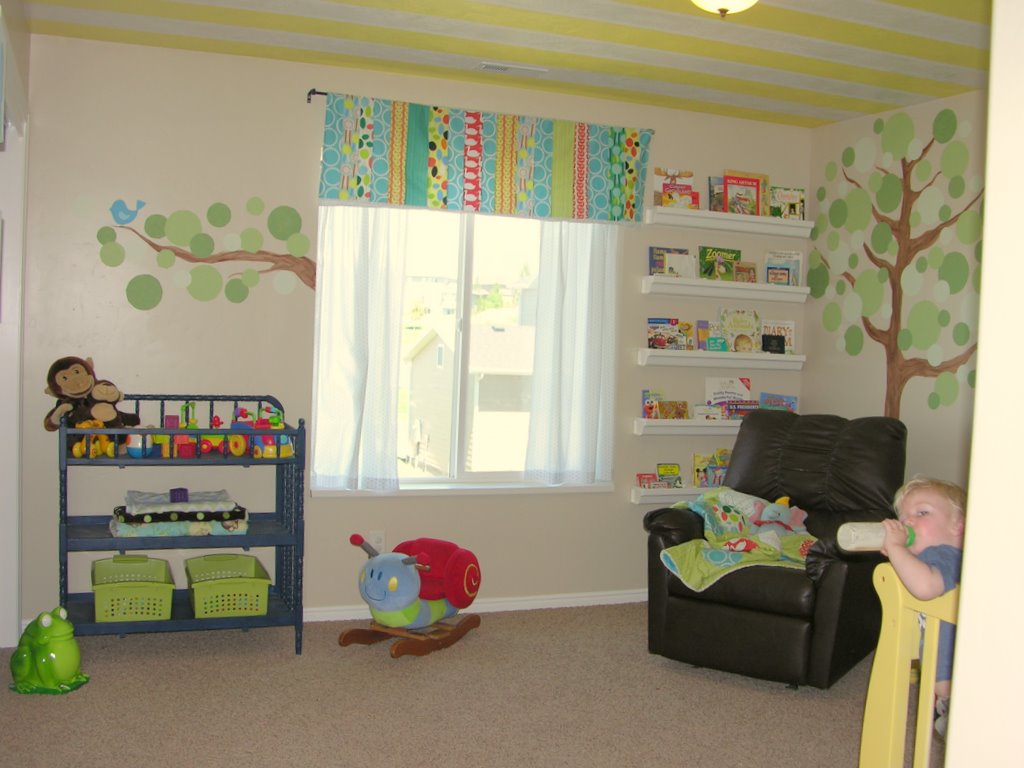
These shelves are so very worth it. I love having them. My children love them. They look at the books on these shelves all the time.
But this is not the only way to do these shelves. You can see there are many amazing ways to do these shelves!
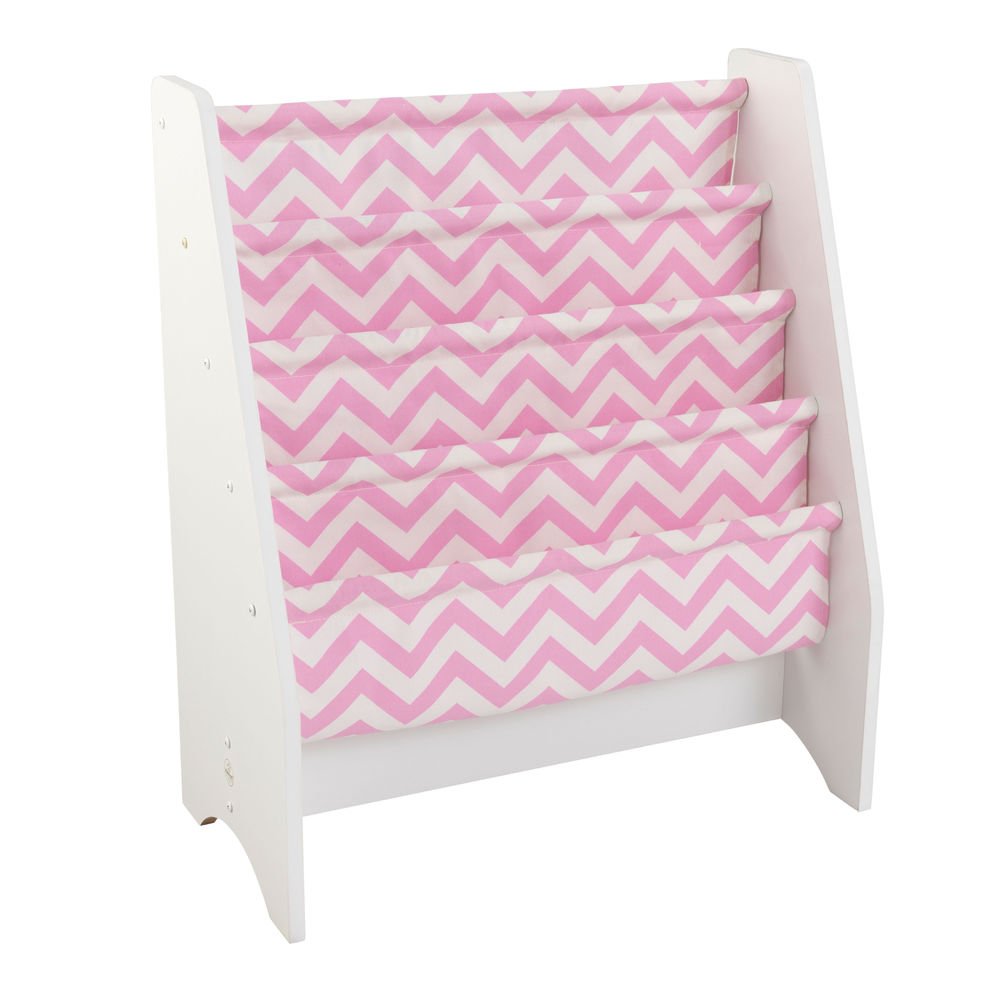
This bookshelf would be easy to put into a room.
 |
| Hanging Book Sleeves–easy to make |
 |
| Flat Wall Book Holders–great for small spaces. Make yourself. |
 |
| 10 Dollar Ledges–make yourself |
 |
| This is what inspired mine |
 |
| Raingutters are a very inexpensive and easy way to go. |
 |
| Another inexpensive option is the spice racks here! |