
Want a beautiful, handmade decoration that looks impressive—but is actually simple to make? This DIY burlap wreath tutorial walks you through easy steps to create a gorgeous, customizable wreath for your home—no advanced crafting skills needed!
While it is easy to find many fun and cute wreaths for different holidays and seasons, the in-between season times can be difficult. Then along came burlap and my off-season wreaths were saved! I love the burlap wreath, and it is ridiculously easy and inexpensive to make yourself. This is especially true if you catch the items on sale or use a coupon to get them 40-50% off. This post may contain affiliate links, which won’t change your price but will share some commission. This does not increase your cost.
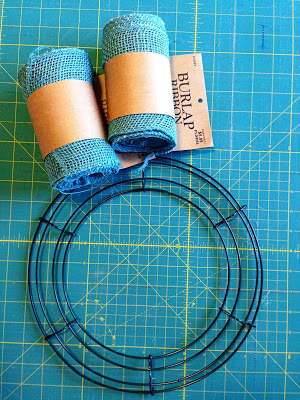
To make a wreath, you will need a wreath frame and some burlap
 . I have made a frame with burlap I bought by the bold and one with the burlap roll (as shown above). The roll is a lot easier. If you buy it by the yard, you will need to cut strips, which isn’t a huge deal. But it does fray and it is messy so if you are going for quick and easy, go for the roll.
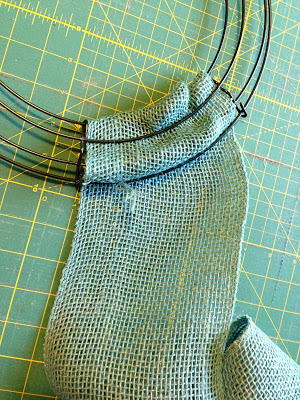
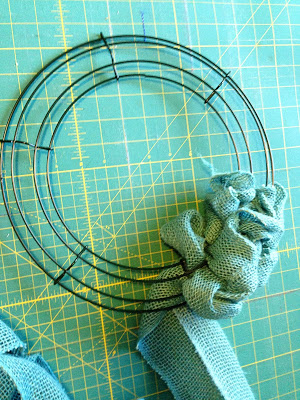
You take your wire frame and your burlap and you just weave the burlap over and under, over and under, etc. on the frame. I tucked the end around the first ring of wire so it was on top of itself.
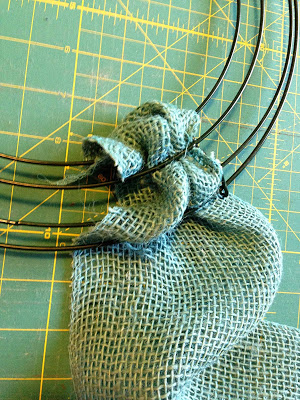
Then you scrunch it up.
Don’t cut your burlap strip–just continue weaving. Scrunch and poof as you go.
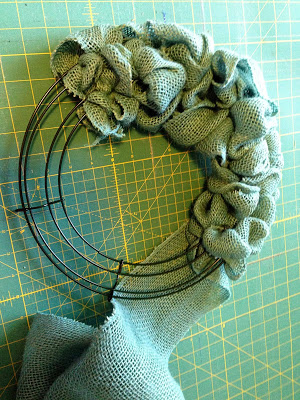
Keep going.
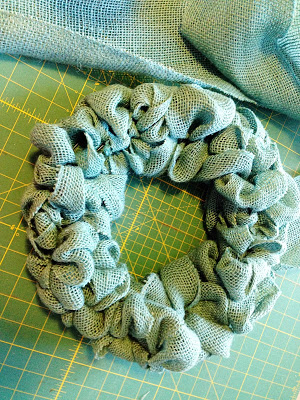
Once you get it all on there and scrunched and full how you want it, you will cut off the excess. For this frame, I used one roll and got into a second roll. You can see the excess in the picture above coming off the right and over the top. Just cut it.
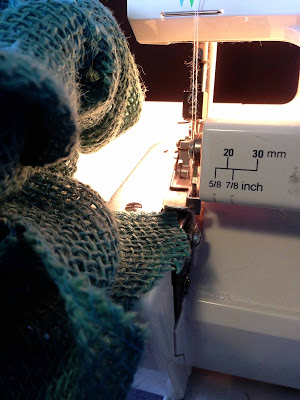
Then I decided to serge the end of it where I cut to help prevent fraying. This is not necessary, but it is nice. You could also try Fray Check or do a zig-zag stitch with your sewing machine. Once you do that, tuck it in the back.
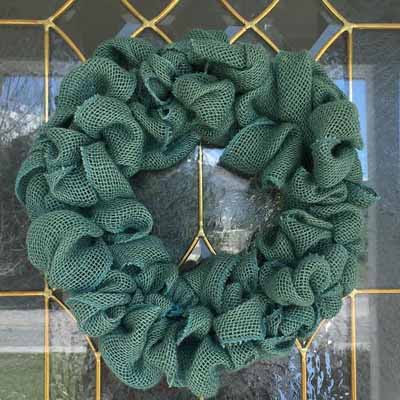
Finished product on my door!
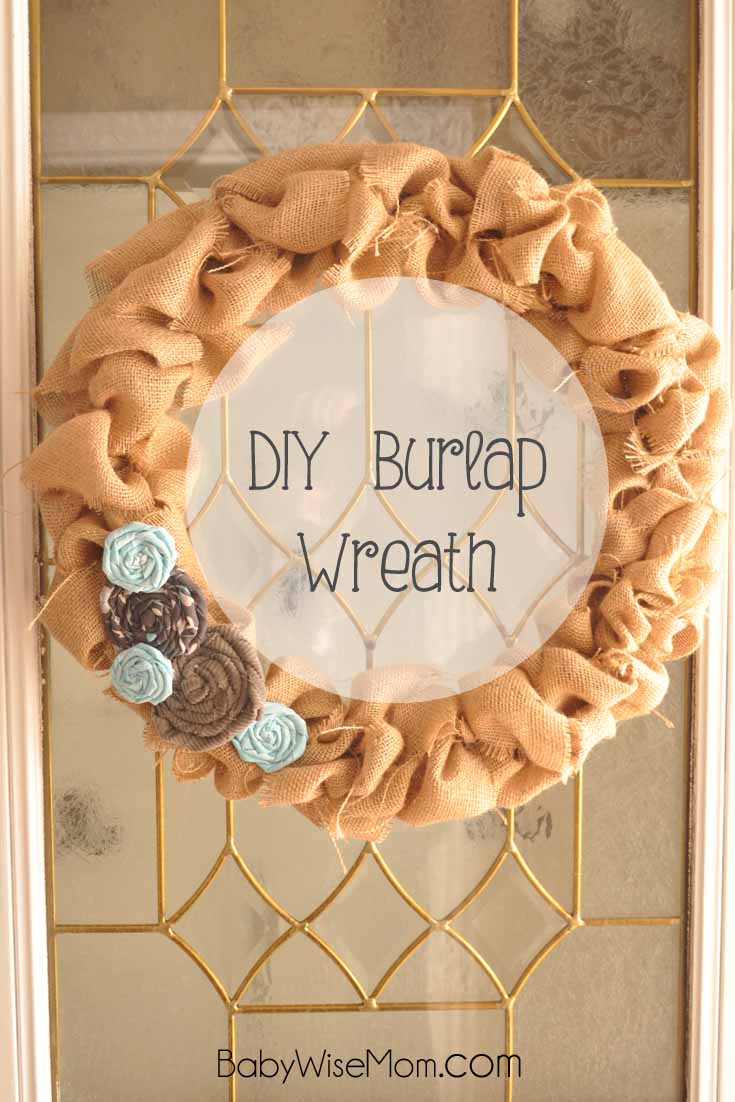
This is my larger one that I used with a bolt of burlap. I made little rosettes out of fabric to add some decoration to it.
Related Posts
- Face Out Bookshelves {Ideas and Tutorial}
- DIY Doorway Puppet Theatre {Tutorial}
- Remodeled DIY Board & Batten Entry Way