
Get all of the tips you need to be able to grow peas in your own garden at home. Get delicious fresh peas!

Growing a vegetable garden is significantly easier than you imagine it would be. I promise! There are so many benefits to growing your own food. For one, it gives you a little bit of self-sufficiency–you rely less on others for your living. For another, it saves you money! Another great reason is that the food tastes so much better when you grow it yourself. It will even taste better than food you get at a Farmer’s Market. Finally, the nutrition cannot be beat from food you grow yourself. Once a food is picked, it starts to lose nutrients, so if you can pick lettuce and eat it 20 minutes later in the form of a salad, you will get significantly more nutrients than that lettuce in the grocery store that was picked a couple of weeks ago and even more than that lettuce at the Farmer’s Market–even if it was freshly picked yesterday.
But growing a garden can seem daunting. I want to walk you through the different foods I grow and show you just how easy it can be.
I have already written a post on Gardening: Getting Started Tips. Read that post for some ideas on what you need to get started.
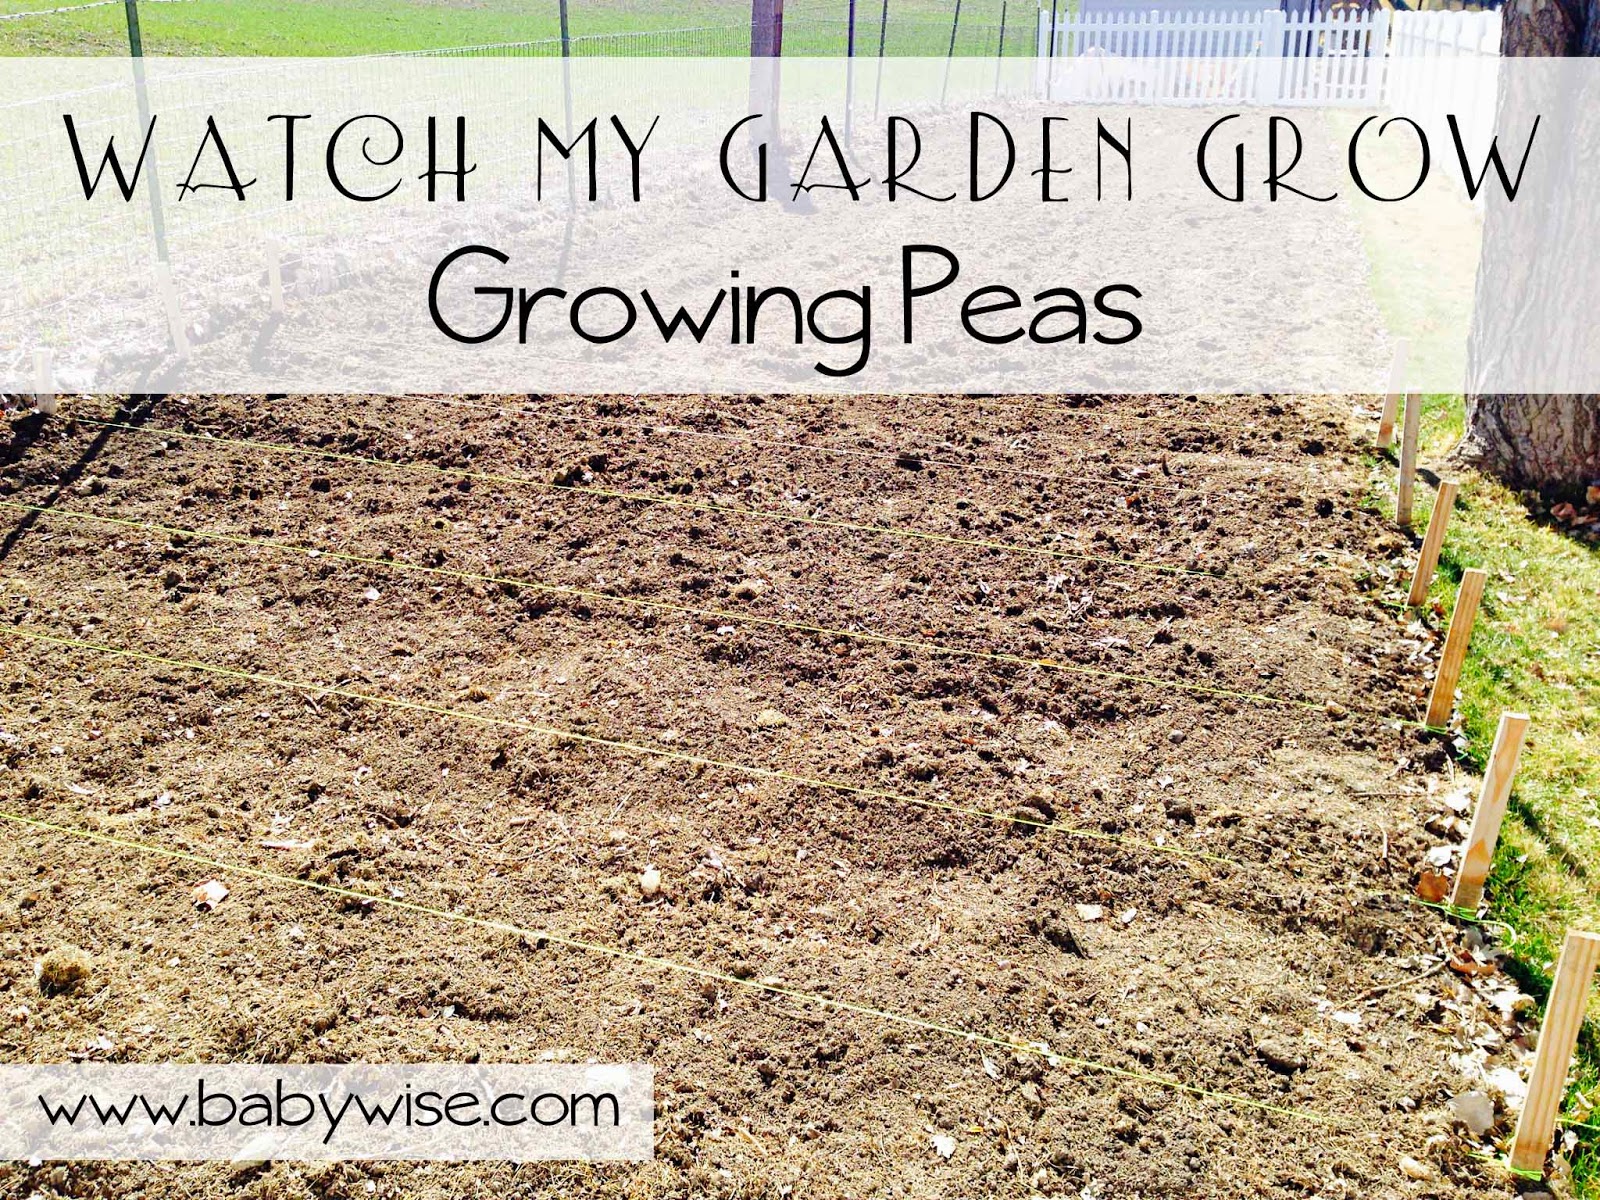
So today, let’s talk peas. Peas are one of the easiest plants to grow where I live. They do not die easily in spring frosts. They are definitely hard to kill.
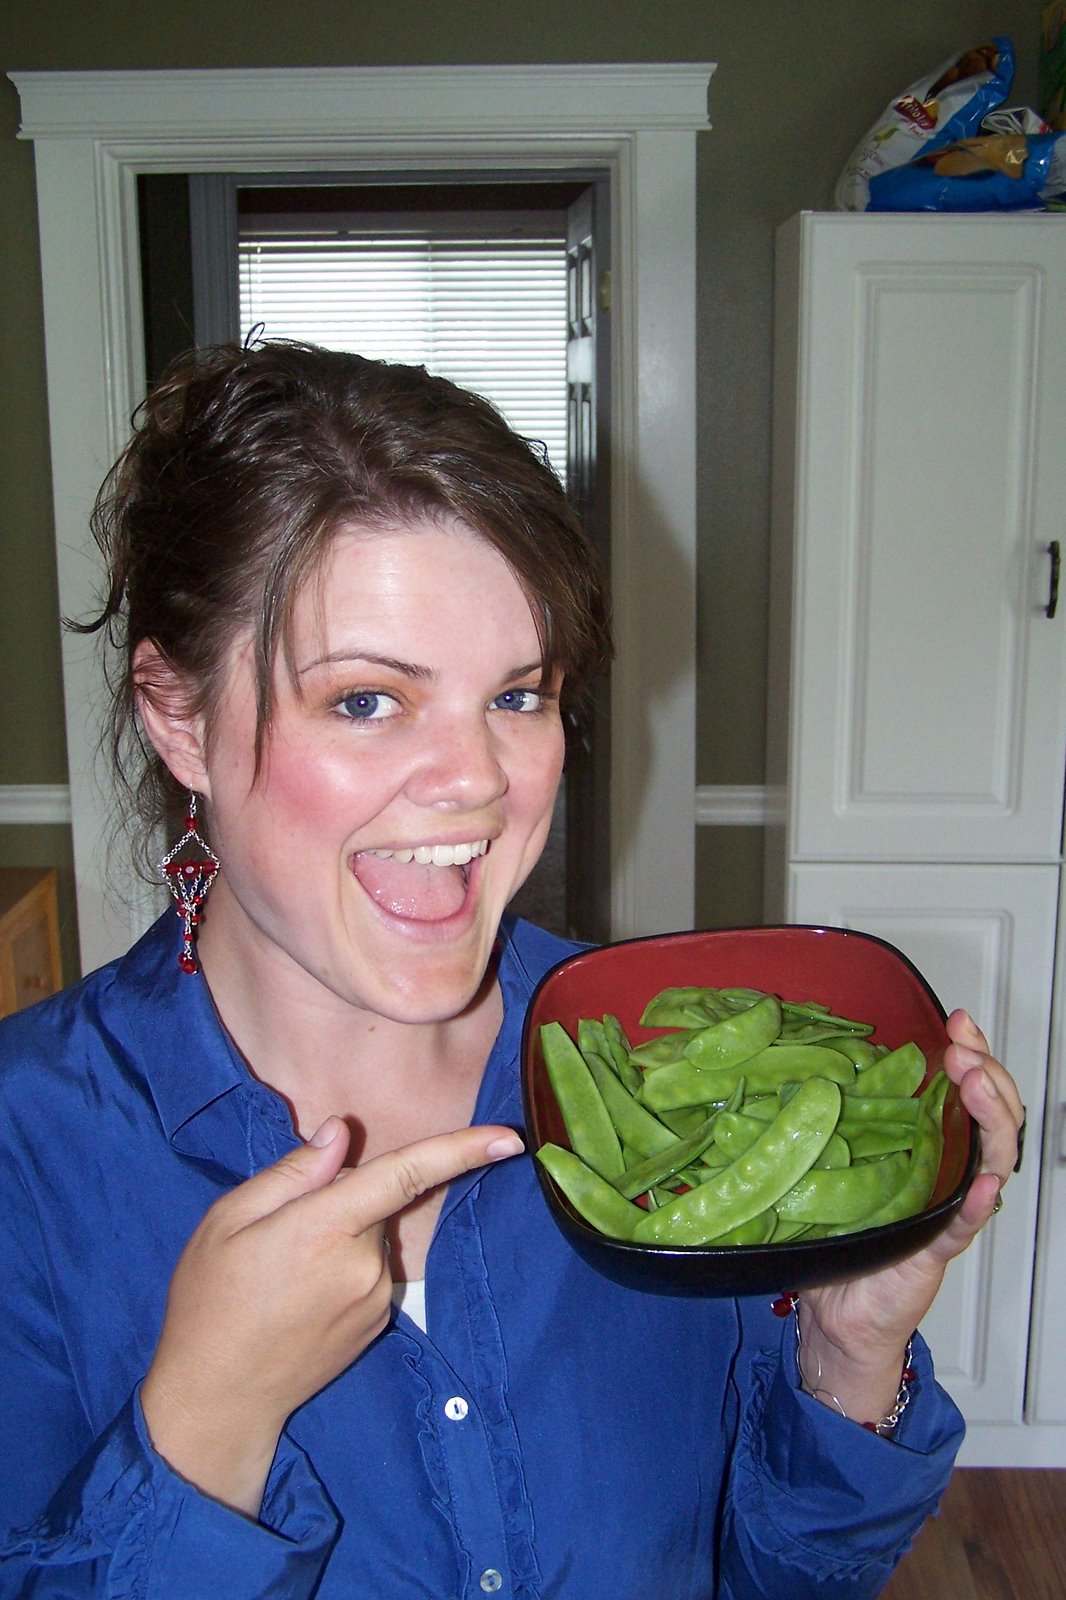 |
| This picture is from 2008 |
Post Contents
What you need:
- Dirt
- Pea seeds (we plant garden peas and sugar snap peas–also called snow peas). My favorite pea seed by far is the Garden Pea Miragreen from Gurney’s (others might sell it, too, that is just where I get it).
- Pea supports–you don’t need these right away, but you will want them later on. Some people plant peas without supports, but you will get a higher yield if you use them. Plus, it makes the peas easier to pick.
- Water
Also handy:
- Stakes and string to mark your rows (but this isn’t necessary)
- Hand Shovel (but again, not necessary. Peas aren’t planted too deep so you could just use your fingers)
When to plant:
For everything we talk about, I will not be able to give you exact dates to plant unless you live in my neighborhood. The rule here is you plant in the spring as soon as the soil is dry enough to work. Peas die and turn bitter in the heat. You want them planted early enough in the year that you can enjoy them before it gets too hot. We plant ours late March into mid-April. They are usually done bearing by mid-July. If you are unsure of when to plant, ask someone at a local garden store. It typically takes about 68 days from the time you plant to the time you pick. I have had it faster.
Where to plant:
Peas like to be moist and they do not like to be hot. They also like the soil to be well-drained. Part of my garden is partly shaded in the day, and I find my peas really do well in the shade. Now here is the caveat–it does well in the shade when it is hot, but you don’t want it in the shade initially. My spot works because my tree has no leaves in the early spring. So it gets the warm sun as it is sprouting and the days are shorter, then it gets the relief in the heat of the summer when it is bearing peas.
If you decide to plant different varieties like we do (we plant the kind you open the pod and eat and the kind you eat whole, pod and all), I recommend you plant the two varieties with space between them. At first, we planted the two row right next to each other, but then they grew into each other and I was left guessing–are these the kind you eat the pod? They look very different when you pick them, and neither is all that tasty if you pick it when the other one should be picked. I always have something grow between my two kinds of peas.
How to plant:
- Prep your soil. You want it loose–we till our garden.
- Mark your rows for where you want peas. We use wood stakes and string. We put a stake down on each side of the row and tie string to it. You can see that in the photo above.
- I plant my peas 1.5 inches deep. I plant them 3-4 inches apart. I put 2 seeds in each hole. That way, if one doesn’t germinate, you usually still have the other that does.
- Don’t be stressed! My kids help plant every year–and if you know kids, you know they aren’t super “attention to detail” type. They do things as well as kids can do. That means the depth and spacing isn’t perfect and that is okay. The only thing I focus on is that they get planted close to the string. The reason I care about this for peas is so when I stake them, the plants are all in a straight line.
- Water after planting. You should see signs of life in about 6-10 days. Sometimes it takes longer if it is cold.
How to care for peas:
- Some say to thin peas to 6-8 inches apart once the plants are about 6 inches tall. I used to do this, but my neighbor plants them on top of each other, so I decided to try not thinning. That way I have twice as many plants for my pea area. When I don’t thin, things still do great! I will take out one pea plant if both came up that I planted in the same hole.
- Keep peas well-watered. We put our grass clippings between the rows. This helps cut down on weeds and helps keep the soil moist. It also acts as a nice fertilizer for the garden over the winter. The downside to grass clippings is it breeds a moist environment–which slugs love.
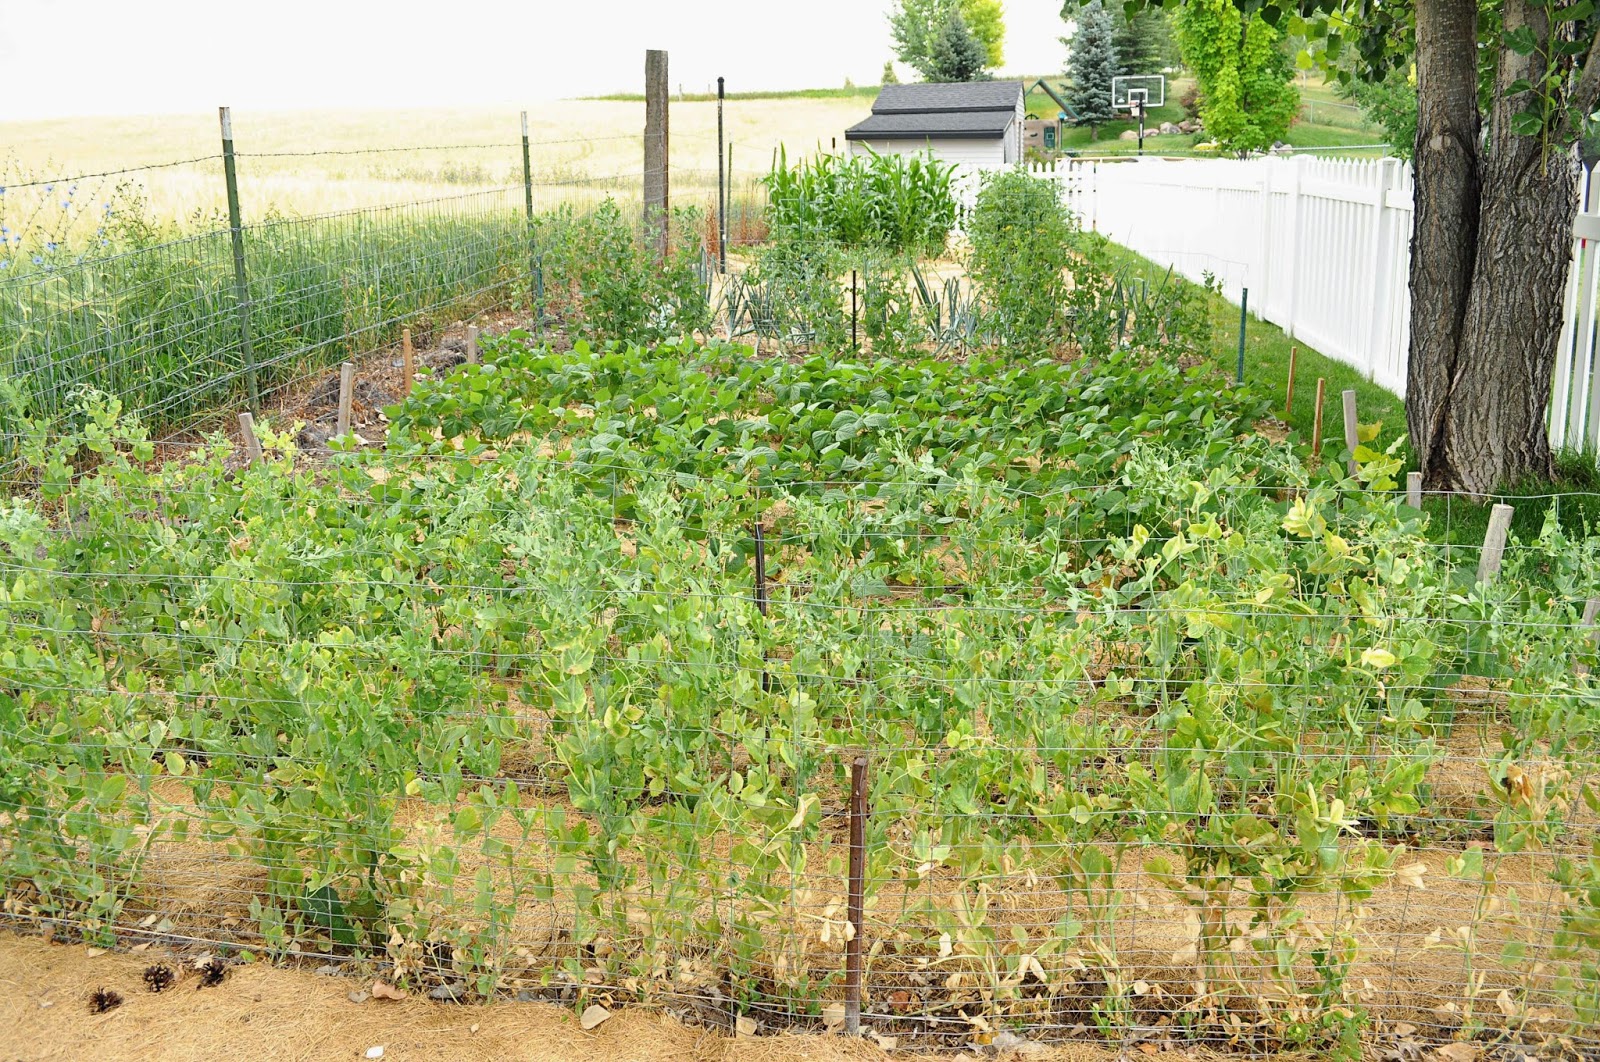
- If you have a variety that needs to be supported (not all do), put up the supports when the plants are about 6 inches tall or so. We have used wire and we have used livestock fencing. The livestock fencing is much better. See the photo below.
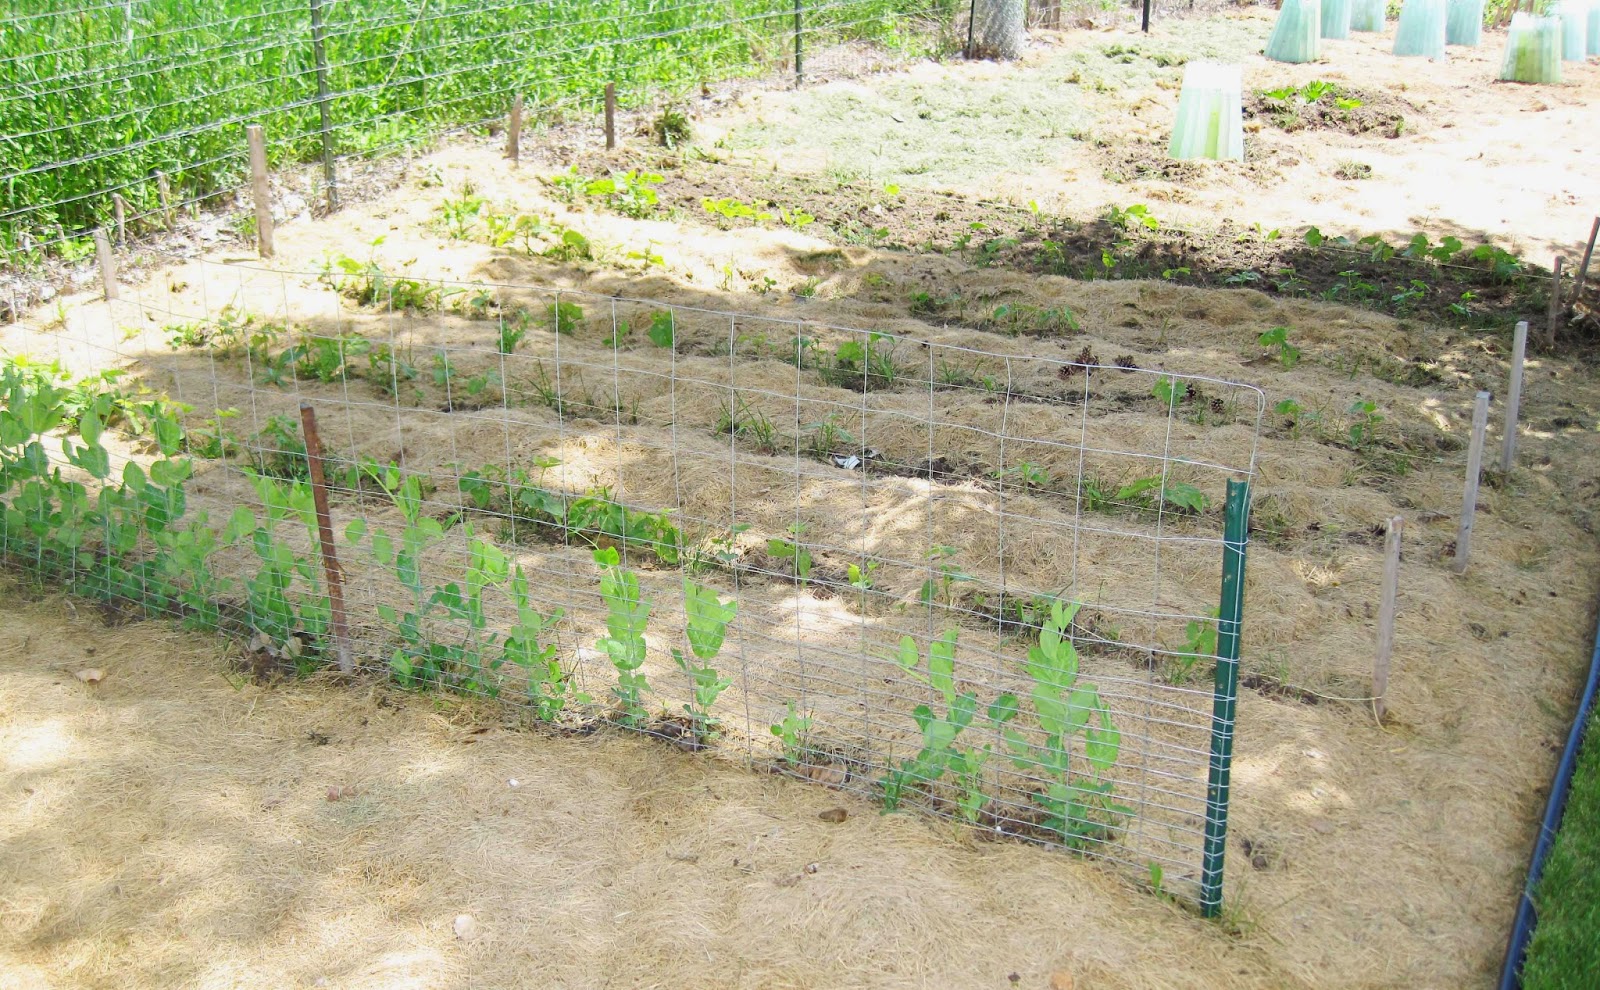 |
| You can see the fencing here. Peas have little tendrils that wrap around things to help it stay upright |
How to harvest
- Pick the peas when they look right. For Garden Peas (the kind you open the pod for), you want the pod to be swollen and look like there are peas inside. If the peas get too big, they get bitter tasting and have a very fibrous texture. For Sugar Snap (or Snow), you don’t want the peas to be large. The pod will be long, but the peas will be small. You can see those in the picture with me and the peas above.
- Pick as soon as things are ripe to encourage the plant to continue producing. If you leave the peas on there, not only do they get gross, the plant starts to die.
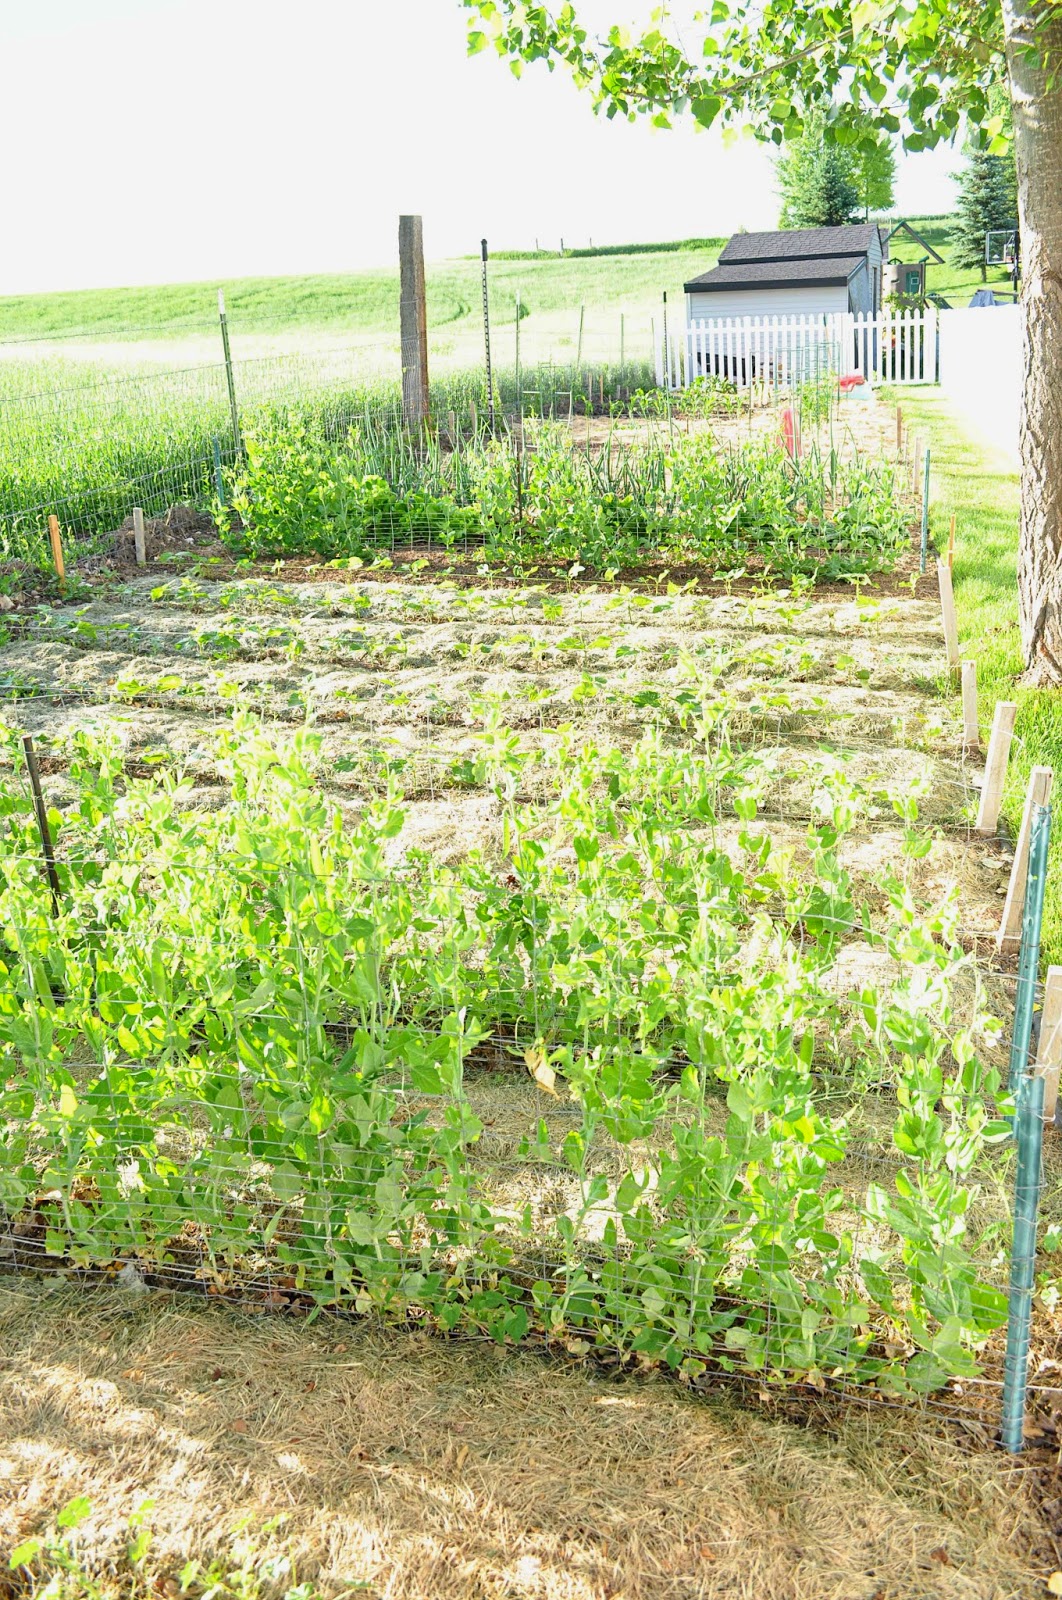
I will share more photos throughout this year as the year goes on.
Let me know if you have any questions about peas! And if you have tips for growing peas, please share!
I also like to use an innoculant on the seeds. I do this with beans too.
I haven't ever tried that. I willHave to look into it!